

How To Cut, Flare, And Bend Brake Lines
Jun 6th 2025
Working with brake lines is a critical skill for any automotive enthusiast or professional mechanic. Whether you're upgrading your braking system with AN fittings or replacing damaged lines, knowing how to properly cut, flare, and bend brake lines ensures a leak proof connection and optimal brake performance. This extensive guide will walk you through each step of the process, to ensure you end up with professional results that offer the safety, reliability and consistency that your braking system requires.
The most important thing to know about brake line work is that it requires precision and the proper tools. One wrong cut, flare, or bend and your entire brake system is at risk for failure, causing dangerous leaks in your brake fluid. With the right methods and good tools, however, you can make custom brake lines that fit like a glove and will last for years.
How to Cut Brake Lines
Cutting brake lines correctly is the foundation of any successful brake line installation. The quality of your cut directly affects how well your flares will form and how your fittings will seal. Poor cuts can lead to weak flares, leaks, and system failure.
Measure Twice, Cut Once
Measure the length you’ll need for your brake line carefully, before cutting anything. Think about the path the line will move along, with a bend or a curve. When measuring, remember that bends do not follow straight lines - a 90 degree bend will need slightly more than the straight-line distance between two points.
Apply a flexible measuring tape or string to map the exact route your brake line will take. Note this measurement on your tubing, but do not cut just yet. Verify your measurement by dry laying the line in the desired plan. This extra few minutes can save you from expensive mistakes and wasted materials.
Leave Length for Flares and Bends
When cutting your brake line, always add extra length for flares and bends. Each double flare requires approximately 1/4 inch of additional tube length. Bends also consume length – a tight 90-degree bend can use up to 1/2 inch more than a straight run.
It's better to cut your line slightly long and trim it later than to cut it too short and start over. Professional mechanics typically add 10-15% extra length to their initial measurements to account for these factors and provide a margin for error.
Use a Tube Cutter or Brake Cut-Off Tool
The tool you use to cut your brake line makes a significant difference in the quality of your cut. A proper tube cutter or specialized brake cut-off tool creates a clean, square cut that's essential for forming good flares. Avoid using hacksaws or other general-purpose cutting tools, as these can create uneven cuts and burrs that compromise flare quality.
Position the tube cutter squarely on the line and rotate it while gradually tightening the cutting wheel. This creates a clean, perpendicular cut without deforming the tube. Take your time with this process – rushing can result in crushed or angled cuts that will cause problems later.
Remove Sharp Edges From the Line
After cutting, you must remove any burrs or sharp edges from both the inside and outside of the tube. Use a deburring tool or fine file to smooth the cut edges. Pay special attention to the inside diameter of the tube, as internal burrs can restrict brake fluid flow and damage seals in your brake system.
The goal is to create smooth, clean edges that won't interfere with flare formation or create stress points that could lead to cracks. Run your finger around both the inside and outside edges to ensure they're completely smooth before proceeding to the flaring process.
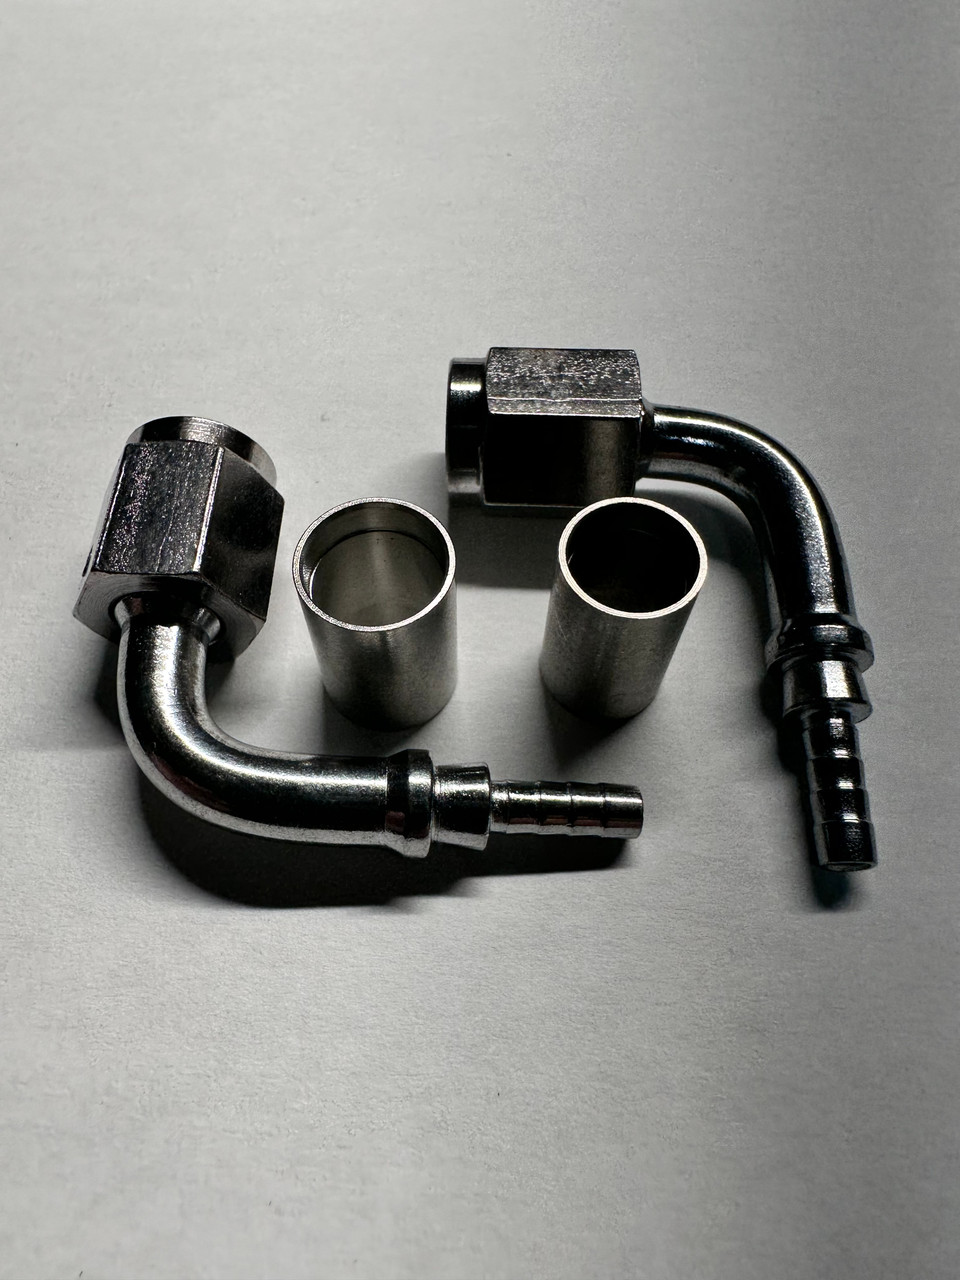
How to Flare Brake Lines
Flaring brake lines creates the connection point where your brake line meets fittings, calipers, or other brake components. A proper flare ensures a leak-proof seal and prevents the line from pulling out of the fitting under pressure.
Invest in a High-Quality Tool
A quality flaring tool is perhaps the most important investment you'll make for brake line work. Cheap flaring tools often produce inconsistent results, leading to leaks and safety issues. Look for a double flaring tool that can create both single and double flares, as different applications may require different flare types.
Professional-grade flaring tools typically feature hardened steel dies and precise machining that ensures consistent flare angles and dimensions. While these tools cost more initially, they'll produce better results and last much longer than budget alternatives. Consider this tool an investment in safety and quality workmanship.
Using Your Flare Tool
Begin by sliding the appropriate fitting onto your brake line before creating the flare – you won't be able to install it afterward. Next, insert the tube into your flaring tool, ensuring it protrudes the correct distance above the die. Most tools include instructions for proper tube protrusion for different flare types.
For double flares, the process typically involves two steps: first creating a bubble flare, then forming the final double flare. Clamp the tube securely in the tool and slowly turn the flaring screw to form the flare. Apply steady, even pressure and avoid rushing this process. A properly formed double flare should have smooth, even walls with no cracks or irregularities.
Check your work carefully after each flare. The flare should be symmetrical and properly sized to fit your brake line AN fittings. If you notice any imperfections, it's better to cut off the flared section and start over rather than risk a leak in your brake system.
How to Bend Brake Lines
Proper bending ensures your brake lines follow the correct path without kinks or restrictions that could impede brake fluid flow. Clean, smooth bends also look professional and are less likely to develop stress cracks over time.
Find Where to Bend
Before bending, carefully plan each bend location. Mark these points on your tube and consider the order in which you'll make the bends. Complex routing may require multiple bends, and the sequence matters – some bends may be impossible to make once others are in place.
Use your car as a template when possible. Route the unbent line along its intended path and mark where bends need to occur. Take photos of the original brake line routing if you're replacing existing lines, as this provides a valuable reference for proper positioning and clearances.
Using the Brake Bending Tool
A proper brake line bending tool creates smooth, consistent bends without kinking or flattening the tube. Position the tool at your marked bend point and slowly apply pressure to form the bend. Work gradually – trying to make sharp bends too quickly can collapse the tube or create stress points.
For tight spaces or complex shapes, you may need to make several smaller bends rather than one large bend. This approach often produces better results and reduces the risk of kinking. Remember that brake line clips will help secure your finished lines and provide additional support at mounting points.
When working with banjo brake fittings or specialized AN fittings, ensure your bends accommodate the fitting orientation and provide adequate clearance for installation and service access.
Conclusion
Mastering the art of cutting, flaring, and bending brake lines is an essential skill that ensures safe, reliable brake system performance. By following proper techniques and using quality tools, you can create custom brake lines that meet or exceed OEM specifications. Remember that brake system work directly affects vehicle safety – never compromise on quality or take shortcuts that could jeopardize the integrity of your braking system.
Proceed through each step of measuring, fabricating, and installing with care. You should be checking your work and measuring everything at every step to avoid needing to redo anything. With practice and attention to detail you can make brake lines just like the professionals do, for years of trouble-free service and the security of knowing a brake system is well-serviced.